The timeline
The timeline, right at the bottom of the editor, is where time lives. It’s what turns your drawings into animation: it slices time into frames, stacks your layers as tracks, and remembers a pose at every keyframe.

Frames and the playhead
Time reads left to right. Each tick on the ruler is a frame. The orange marker is the playhead: it points at the frame shown on screen. Drag it along the ruler to move through time, or use the arrow keys to step one frame at a time.

Layers are tracks
Each layer gets its own track, stacked just like in the drawing: what’s on top sits in front. On the left of each track you’ll find the eye (show or hide), the lock, and the opacity. The Sound track, at the bottom, holds your sounds.
Keyframes
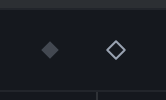
A dot on a track is a keyframe: a pose remembered at a precise frame. This is the heart of animation. You pin poses in time, and FlatInk plays back the sequence. Between two keyframes a shape can be held as is, or smoothly linked by a tween.
Playing the animation
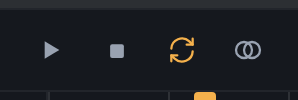
To the left of the controls, the transport block: play, stop, loop, and onion skin, which shows the neighbouring frames as ghosts so you can draw in continuity.
Rate and duration
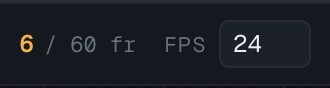
Far right, two settings set the rhythm: the current frame over the total duration, and the FPS (frames per second). More FPS makes motion smoother; a longer duration stretches the animation out in time.